This is a small tutorial on digital coloring in Photoshop without using any tablet.
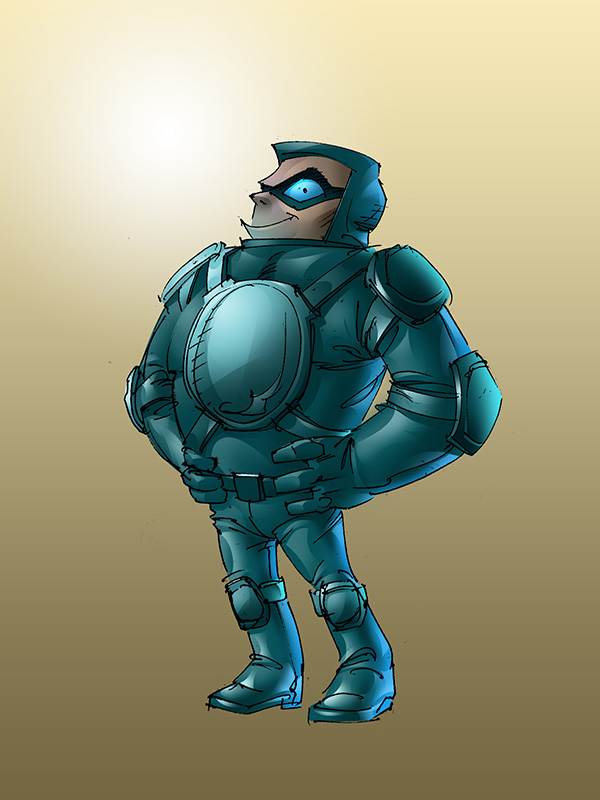
He is a quick sketched hero-type guy with metallic shiny suite, with guards on his joints and a big plate on his chest - this is his armour. This is how he is going to look.
I sketched him with a ball point pen and photographed with my mobile. Then imported the image in Photoshop and adjusted brightness and contrast to create clean line art from the photographed image.

First thing we are going to do is to create flats of this character - there will be only three layers to color this. First one is the color of the suite. I added a new layer under ink layer and selected the region using path tool and converted the path to selection. Then picked up a color and filled the selected area.
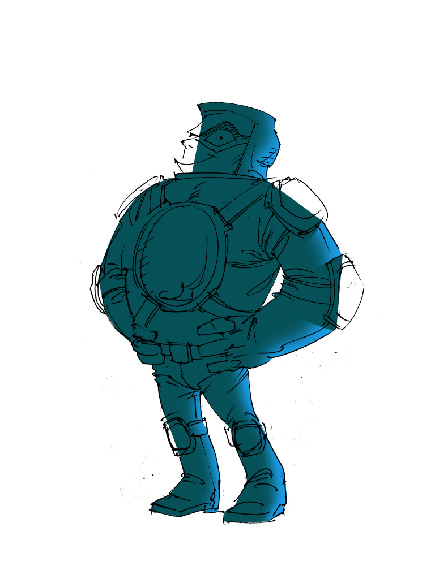
Now set the checked 'lock transparent pixels' on this layer - this will restrict colors to be applied inside the region filled with color. Added a back-light using a bigger soft-edged brush. Shadows in separate regions are avoided by selecting using paths and painting inside it.
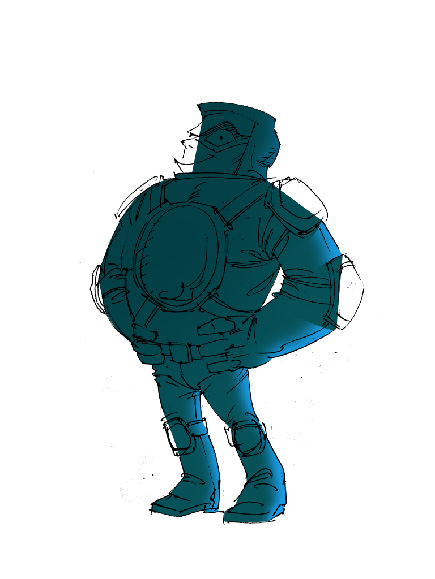
Took a huge air-brush and picked a darker color of the base and painted softly on the upper area to simulate bounced light from floor.
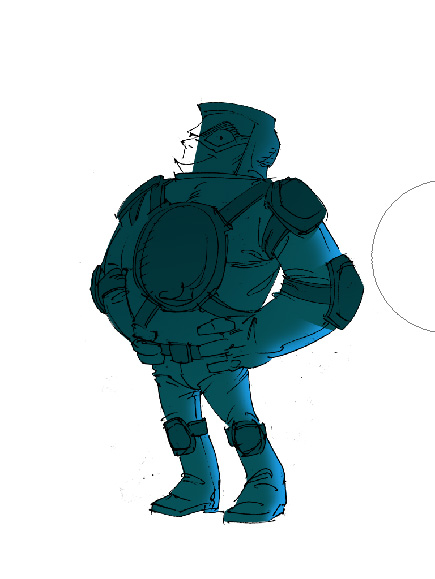
Now added a new layer on top the suite layer - this will hold colors for armor, guards and face. First selected regions using pen tool and converted to selection. The filled the base color of the armour and guards.

Selected the area for face and filled it with base skin tone, then added a little highlight from top-left using a soft brush.
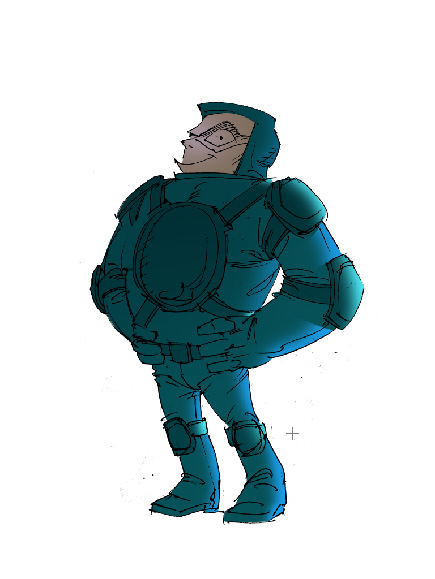
Now selected 'Lock transparent pixels' like did before to restrict coloring inside the filled are only. As done for the suite, Added bright back-light on guards.

Added shadows and highlights on face. When painting over this area, I zoomed in very closely to get a better vies of his face. Used same color of the average skin tone and painted shadows setting blend mode of the brush to 'Multiply' and highlights with 'Dodge'
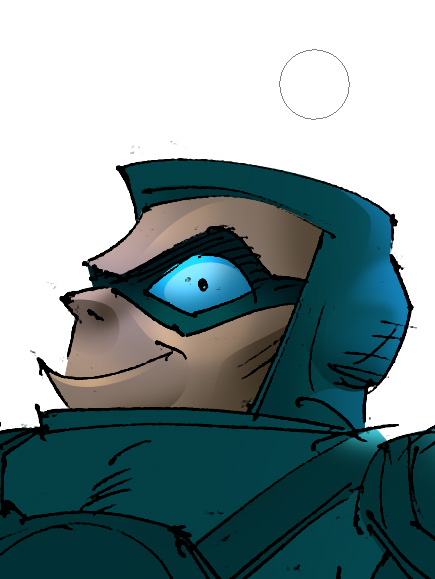
Using pen tool, selected areas for mask, filled with base color and added little shadow and highlight. Later selected area for eye, added a base color and added highlights with lighter colors.
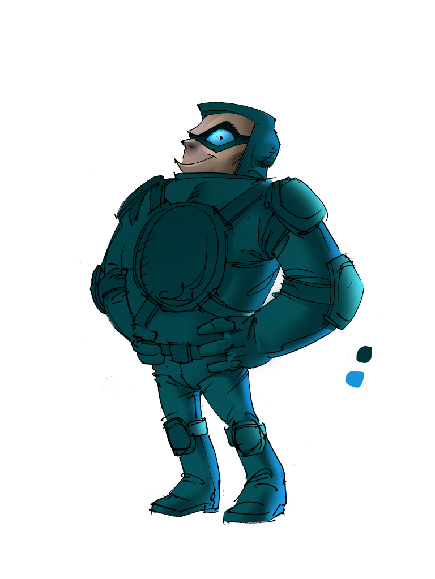
When finished coloring the face, zoomed out to see whole body of this hero. We are now going to apply depth to the suite by adding shadows and highlights. Added two color spots for shadows and highlights on the canvas temporarily. They will be handy to pick up by the color-picker while painting.
Selected areas to apply shadows using pen tool and converted to selection and painted with soft edge air-brush. On upper portions of the body darkened shadow colors a bit to match with the base color.

When finished adding shadows, started to curve-out highlights same way as done for adding shadows. We are just painting the highlights from left, not for the bright highlighted portions that caused by the back light.
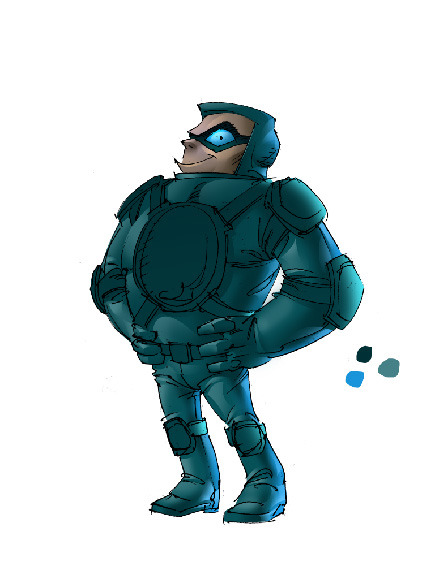
Now started adding extreme highlights on back-lighted areas using a brighter tint of the back light color. In this step details on the boots, gloves and seams on the suite has been added.
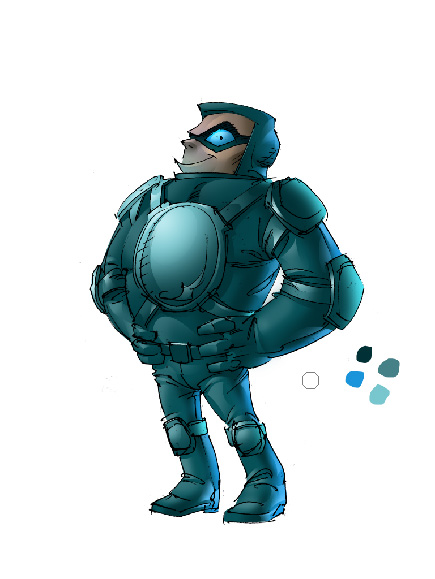
First added a big highlight on the armour and guards on his right hand with a huge soft edged airbrush. I tried to balance the overall illumination against the backlight. Then started adding details on other portions. Some shadow has added by painting with base color of the armor and guards.

How did you liked this quick tutorial? Please share your comments below. If you have any questions please feel free to ask me via comments.

He is a quick sketched hero-type guy with metallic shiny suite, with guards on his joints and a big plate on his chest - this is his armour. This is how he is going to look.
I sketched him with a ball point pen and photographed with my mobile. Then imported the image in Photoshop and adjusted brightness and contrast to create clean line art from the photographed image.

First thing we are going to do is to create flats of this character - there will be only three layers to color this. First one is the color of the suite. I added a new layer under ink layer and selected the region using path tool and converted the path to selection. Then picked up a color and filled the selected area.

Now set the checked 'lock transparent pixels' on this layer - this will restrict colors to be applied inside the region filled with color. Added a back-light using a bigger soft-edged brush. Shadows in separate regions are avoided by selecting using paths and painting inside it.

Took a huge air-brush and picked a darker color of the base and painted softly on the upper area to simulate bounced light from floor.

Now added a new layer on top the suite layer - this will hold colors for armor, guards and face. First selected regions using pen tool and converted to selection. The filled the base color of the armour and guards.

Selected the area for face and filled it with base skin tone, then added a little highlight from top-left using a soft brush.

Now selected 'Lock transparent pixels' like did before to restrict coloring inside the filled are only. As done for the suite, Added bright back-light on guards.

Added shadows and highlights on face. When painting over this area, I zoomed in very closely to get a better vies of his face. Used same color of the average skin tone and painted shadows setting blend mode of the brush to 'Multiply' and highlights with 'Dodge'

Using pen tool, selected areas for mask, filled with base color and added little shadow and highlight. Later selected area for eye, added a base color and added highlights with lighter colors.

When finished coloring the face, zoomed out to see whole body of this hero. We are now going to apply depth to the suite by adding shadows and highlights. Added two color spots for shadows and highlights on the canvas temporarily. They will be handy to pick up by the color-picker while painting.
Selected areas to apply shadows using pen tool and converted to selection and painted with soft edge air-brush. On upper portions of the body darkened shadow colors a bit to match with the base color.

When finished adding shadows, started to curve-out highlights same way as done for adding shadows. We are just painting the highlights from left, not for the bright highlighted portions that caused by the back light.

Now started adding extreme highlights on back-lighted areas using a brighter tint of the back light color. In this step details on the boots, gloves and seams on the suite has been added.

First added a big highlight on the armour and guards on his right hand with a huge soft edged airbrush. I tried to balance the overall illumination against the backlight. Then started adding details on other portions. Some shadow has added by painting with base color of the armor and guards.

How did you liked this quick tutorial? Please share your comments below. If you have any questions please feel free to ask me via comments.
Comments
Post a Comment